This article will help beginners learn how to send a document via DocuSign, also called ‘sending an envelope.’
DocuSign envelopes can contain an unlimited number of documents and are routed automatically to your recipients to help you collect information, signature, and much more.
If you’re just starting with Docusign and would like some assistance, you can also schedule a consultation with one of our Docusign Experts.
How To Send a Document Via DocuSign
Step 1: Create a new envelope
- From your DocuSign Account, click Agreements, then click Start, then Envelopes, then Send an Envelope.

Step 2: Upload your document(s)
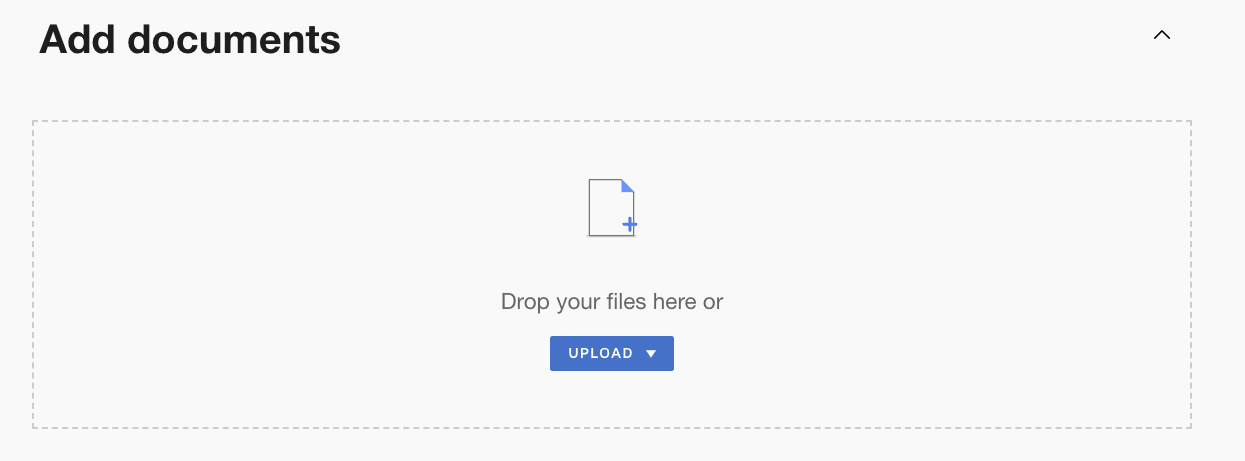
- You can upload as many documents as you’d like. DocuSign accepts the most common formats, including pdf, doc, docx, ppt, jpg, etc.
- Click Upload a file to upload a document from your computer, or click Get from Cloud to upload a document from Google Drive, OneDrive, or your DropBox account.
- Locate the document you want to upload and click Open.
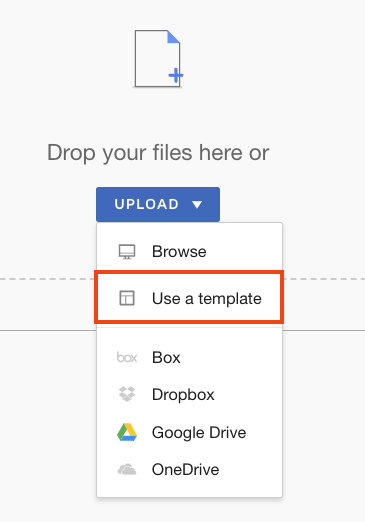
- You can also click Use a template if you have created one before or have access to shared templates across your organization.
Step 3: Add your Recipient(s) to the workflow
Here’s where you tell DocuSign who you are sending the envelope:

- Add a Name and Email for each recipient(s).
- Assign an action to each recipient(s).
- The default action for your recipient is Needs to sign. However, if you want a specific recipient only to be cc’d in the envelope, you will need to change the action to Receives a copy.
- Your recipient(s) will only receive a copy of the envelope by choosing this option once everyone else has acted on the document.
- As the envelope’s sender, you do not need to add yourself as a recipient unless you need to act on the document. DocuSign will automatically send you a copy of the finalized envelope.
- If you’re sending the envelope to more than one person and want your recipients to receive the envelope in a specific order, you need to set a signing order.
- Two people can sign simultaneously, e.g., Bob: 1, Sandy:1, Tom: 2. By doing this, you’re not forcing Sandy to sign until Bob has; however, Tom will only receive the envelope once Bob and Sandy have signed.
Step 3: Add DocuSign fields
- Drag a field from the fields palette and drop it onto your document. You can adjust its position using your mouse, but you will get better accuracy using your keyboard’s arrow keys.
- To change the Recipient you add fields for, click on the top left dropdown to display the list of all Recipients. You will notice that the color of fields for each Recipient varies, making it very easy to identify who you’re currently adding fields for and who you’re still yet to do so

The Most Commonly used DocuSign fields
Depending on which action you want your Recipients to take on the document(s), you will need to add different fields and modify their properties. Below is the list of the fields you’re most likely to use when sending your first envelopes. However, the list is much larger.
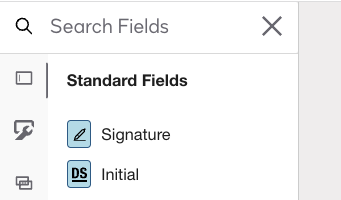
Signature and Initials fields
When signing, your recipients will have to click/tap on those, and their signatures and initials will appear automatically.
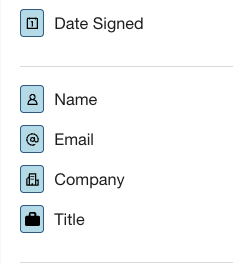
Auto-fill fields
The fields Date Signed, Name, Email, Company, Title will automatically populate, pulling the contact details from what you’ve entered in the Recipient’s list in Step 2. The date will appear in the timezone of the Sender. The Title and Company fields will populate automatically with the details your Recipient has entered in their DocuSign account profile. If the Recipient hasn’t provided those details or doesn’t have a DocuSign account, those will become standard text boxes.
Text boxes
Text boxes are used to add information to documents before sending the envelope without editing the source document itself or requesting information to be entered by your recipients.

Radio Button
Radio buttons provide options from which recipients can select only one response. Radio buttons are placed as a group, and you can add, remove, or position the individual buttons. When you add a radio button field, the group contains two options. Click the “+” icon to add an option to the radio group.

Checkboxes
This is a standard, square box for recipients to select one or more options. You can add a single box or a group of multiple boxes. A checkbox group can include a validation rule to enforce how many checkboxes your signer must select in the group. Click the “+” icon to add an option to the checkboxes group.

Drop-downs
This field provides a drop-down list of options. Like radio buttons, recipients can select only one value from the drop-down list. When you place the field, the Options section opens on the properties panel, where you can add the various options your Recipients will choose from.

Editing the Properties of your DocuSign Fields
Depending on each use case and it’s sometimes unique you will need to customize the fields’ properties. Each type of field will allow you to modify different properties. For example, you can make a signature field required or optional, limit the number of characters that can be entered in a text box, or add a numbers only type of validation to a text field. To edit a Field Properties, you can use the Field Properties panel, which appears on the right portion of your screen when a field is selected.
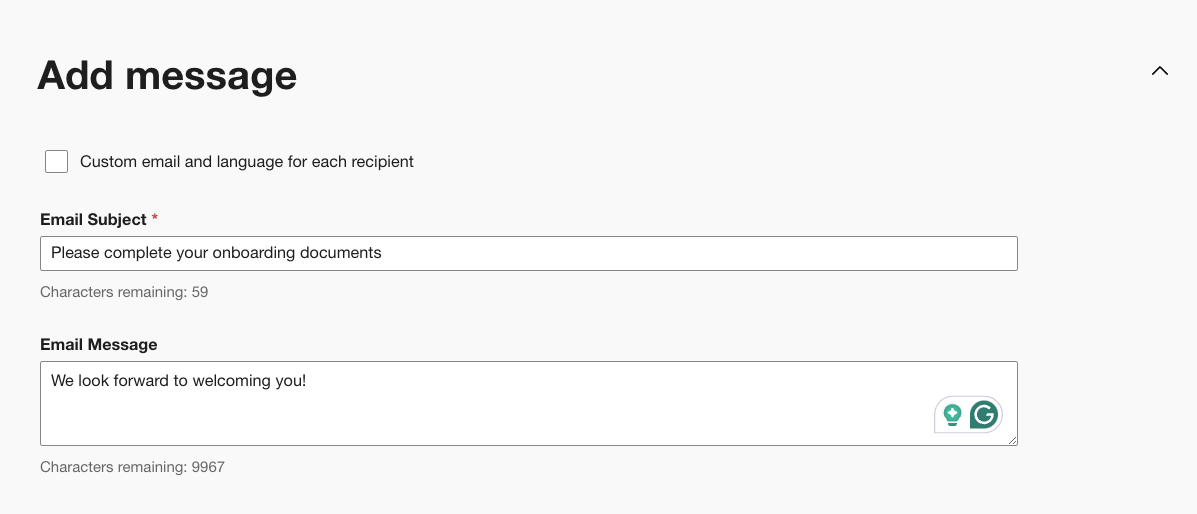
Step 4: Edit the Email Subject and Add a Message
- This step is optional but highly recommended.
- DocuSign automatically adds the name of the files you’ve uploaded in Step 1 and their extension in the email subject that your recipients will receive, preceded by ‘Please DocuSign.’ For example: ‘Please DocuSign: Letter_of_offer123.pdf ‘.
- You can edit this subject and add a message to the recipient by filling in the message fields. You can edit the messaging for each recipient by selecting ‘Custom email and language for each recipient’.
Step 5: Preview and Send your Document
Click on Preview to review your document, then click Send.

Congratulations! You’ve just learned how to send a document via DocuSign. Sending envelopes can be time-consuming, which is why Solusign can help you create DocuSign templates for your business. Please send us a message to learn more!